How to Prepare for a Kitchen Installation
Why Preparation Matters Before a Kitchen Installation
Preparing for a new kitchen installation is an exciting step in transforming your home. A brand-new kitchen is one of the biggest investments you can make, and the installation process can feel overwhelming if you’re not prepared. Knowing what to expect — and how to get your space ready — will make the process smoother for both you and the installation team.
In this guide, we’ll walk you through how to prepare for a kitchen installation, step by step. We’ll cover everything you need to do before the team arrives, what happens during the installation, and how to make sure your new kitchen is signed off without issues.
👉 If you’re also curious about the process itself, check out our full guide on what to expect during a kitchen installation.
A kitchen is the heart of the home — where families gather, meals are made, and memories are created. But fitting a kitchen is a major project that often involves multiple trades, including joiners, plumbers, electricians, and sometimes plasterers or decorators.
Proper preparation helps:
Keep your belongings safe from dust and damage.
Ensure the installation team can work efficiently.
Prevent accidents by reducing trip hazards.
Minimise delays caused by a lack of workspace.
Reduce stress for you and your family during the project.
If you’re searching for kitchen installation tips or wondering how to prepare your home, this checklist will give you all the answers.
Kitchen Installation Checklist: What to Do Before the Team Arrives
Empty All Kitchen Cupboards
Before your installers arrive, make sure to remove everything from your cupboards. Even small items can get damaged during dismantling. Pack your items into boxes and store them in a safe, dust-free space.
This is also a great chance to declutter — donate or recycle anything you no longer need before moving into your new kitchen.
Remove Worktop Appliances
Microwaves, kettles, toasters, blenders, and coffee machines should all be stored safely outside the kitchen. These items are prone to dust and vibration damage during installation, so keeping them out of the way protects them and clears space for your fitters.
Take Down Pictures, Vases, and Decorations
Remove wall art, framed pictures, plants, and vases before the fitting begins. Vibrations from drilling or moving heavy cabinets can knock items off walls or shelves, so it’s safer to store them elsewhere until after sign-off.
Clear All Walkways Into the Kitchen
Fitters will need to move large units, appliances, and tools in and out of your home. Keep hallways and access points clear and free of trip hazards. Move coats, shoes, bags, furniture, or toys that might block the way.
This makes the job safer and faster for everyone.
Provide Space for Fabrication
During installation, your team may need to cut or adjust panels, units, or worktops. This often requires a table saw or other tools.
If you can, clear some space (in a garage, utility, or sheltered outdoor area) for this. If not, don’t worry — your fitters will work it out. But having a space ready helps the project run more smoothly.
Wait for Final Sign-Off Before Moving Items Back
One of the most important points: don’t move anything back into cupboards or onto worktops until after the final sign-off report is complete.
Why? Because there may be some snags (minor adjustments) to complete. If cupboards are already filled, it slows everything down and increases the risk of damage. Waiting until sign-off ensures your kitchen is fully complete before use.
What to Expect During a Kitchen Installation
Understanding the process can help you feel more prepared. While every project is different, most installations follow these steps:
Removal of the old kitchen – Units, worktops, tiles, and sometimes flooring are stripped out.
First fix services – Plumbing and electrics are updated to suit your new layout.
Plastering and prep – Walls, ceilings, or floors may be repaired or replastered.
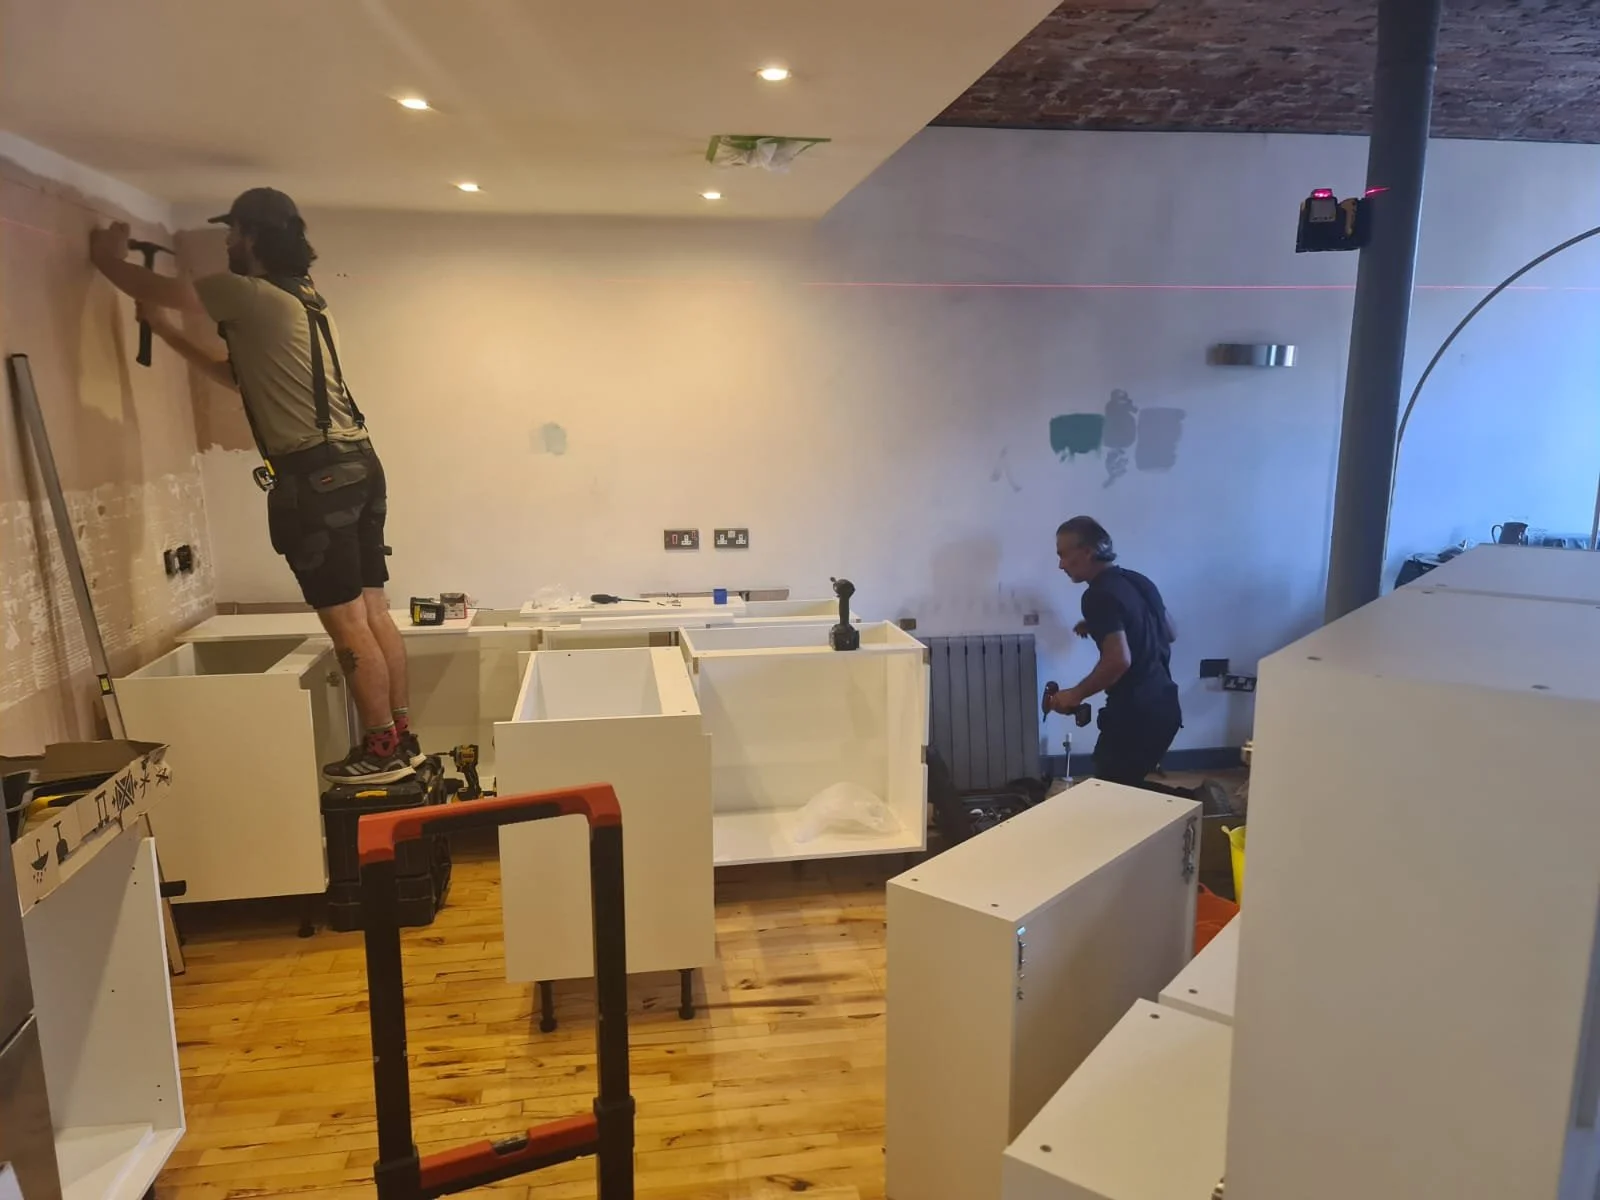
Cabinet installation – Units and cupboards are fitted and levelled.
Worktops and appliances – Surfaces are cut, adjusted, and installed. Appliances are connected.
Finishing touches – Handles, splashbacks, sealants, and trims are completed.
Final sign-off – You and your fitter walk through the finished kitchen to confirm everything is correct.
👉 Want a full breakdown? Read our dedicated guide on what to expect during a kitchen installation.
Practical Tips for Living Through a Kitchen Installation
A kitchen installation can temporarily disrupt daily life. Here are some tips to help:
Set up a temporary kitchen – Place a kettle, microwave, and toaster in another room for basic meals.
Stock up on easy food – Frozen meals, ready-to-eat options, and takeaways will help.
Minimise dust – Keep doors closed and cover furniture with dust sheets.
Protect children and pets – Keep them away from the kitchen area for safety.
Kitchen Installation Tips for a Smooth Project
Stay in communication with your fitter – Ask questions and raise concerns early.
Confirm delivery dates – Make sure appliances and materials will arrive before they’re needed.
Be flexible – Unexpected issues can arise, so allow some flexibility in your schedule.
Final Thoughts: Preparing for Your New Kitchen Installation
A new kitchen is one of the most rewarding home improvements you can make, but preparation is key to a smooth installation. By removing cupboard contents, clearing walkways, and ensuring a safe space for fabrication, you’ll help your team work efficiently while protecting your belongings.
Most importantly, remember not to move items back into cupboards or onto worktops until after the final sign-off. This ensures any small snags are resolved before you begin using your beautiful new kitchen.
With the right preparation, your kitchen installation will run more smoothly — and you’ll be enjoying your new space sooner.
Frequently Asked Questions About Kitchen Installation
How long does a kitchen installation take in the UK?
Most kitchen installations take 1–3 weeks, depending on the size and complexity of the project. Services such as plumbing, electrics, and plastering may extend this timeframe.
Do I need to empty cupboards before a kitchen installation?
Yes. You should always remove everything from cupboards before work begins. This keeps belongings safe and makes dismantling easier.
Should I remove appliances before the kitchen fitting?
Yes. Small appliances like kettles, microwaves, and toasters should be stored outside the kitchen. Larger appliances may be removed by your fitting team.
Can I still use my kitchen during the installation?
In most cases, no. It’s best to set up a temporary kitchen area elsewhere in your home to prepare meals while the project is ongoing.
When can I move my belongings back into the kitchen?
Wait until the final sign-off report has been completed. This ensures any adjustments are finished before your cupboards and worktops are filled.

